DP1 Learning Portfolio – A Custom Designed Skin Barrier
- Author
- Bryan Peart (peartb)
- Course
- IBEHS 1P10 – Health Solutions Design Projects
- Project
- Design Project 1: GI Joe – The Endoscopy Unit
- Team
- Team 21
- Role
- Subject Matter ExpertPrototype leadVideo
Skills
- 3D modelling & CADBlender sculptingGenerative design (Fusion)CAD modellingSee Prototypes 2 & 3, 3D model
- Fabrication & prototyping3D printing in TPUAssembly & finishingLow-fidelity prototypingSee Prototypes 1–3
- ResearchClinical case studiesOstomy form & functionSee The problem, What I learned
- CommunicationFilming, directing & editingProduct photographySee Showcase video
Outcomes
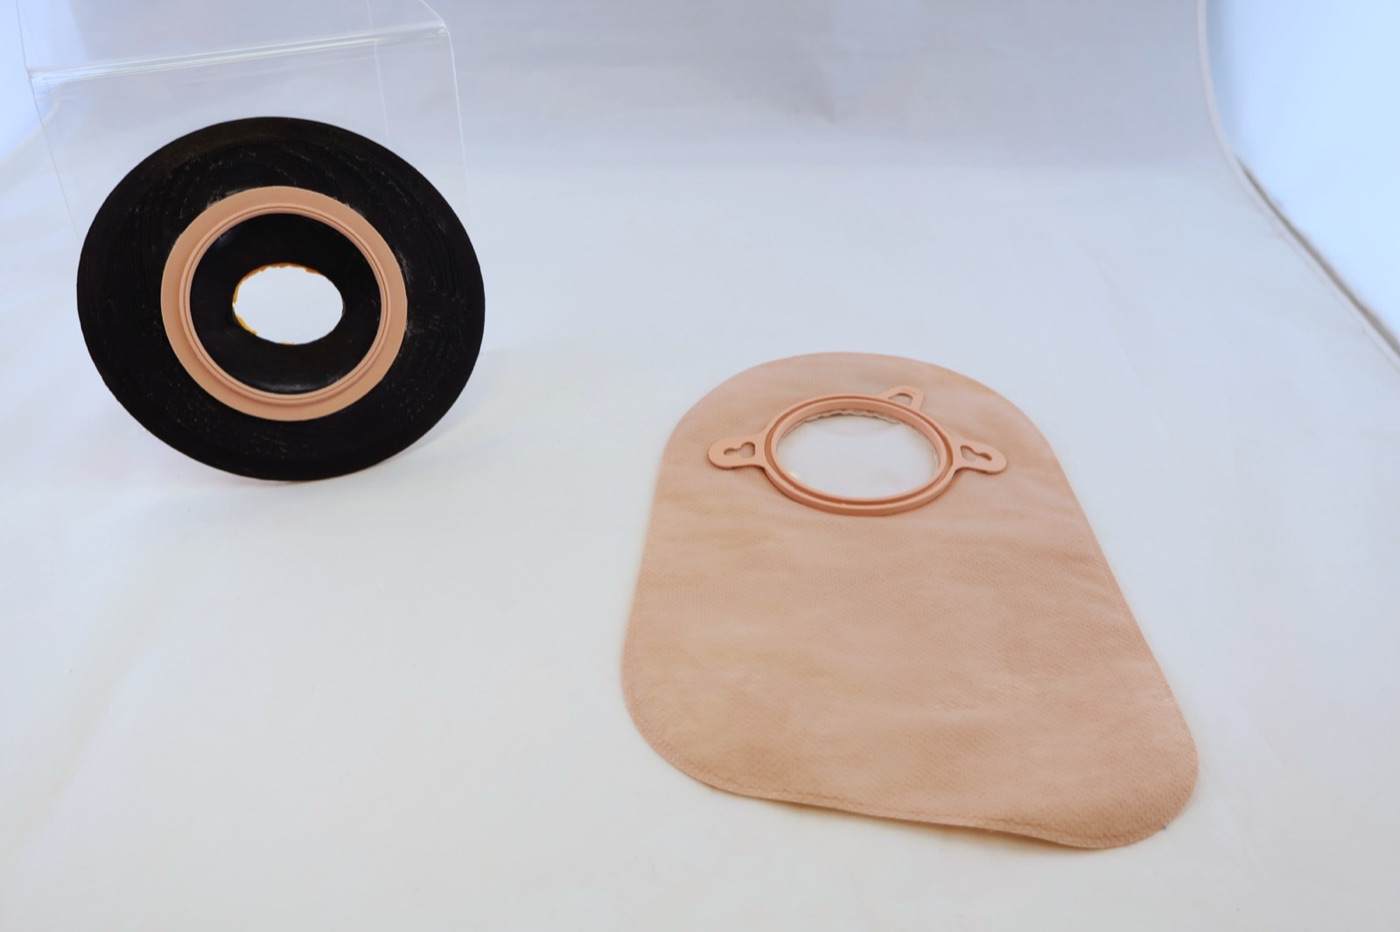
- Final design: a wider (~1.5×), lower-gradient convex barrier shaped to the patient’s body, spreading the same force over more skin (P = F / A) [1]. Prototype
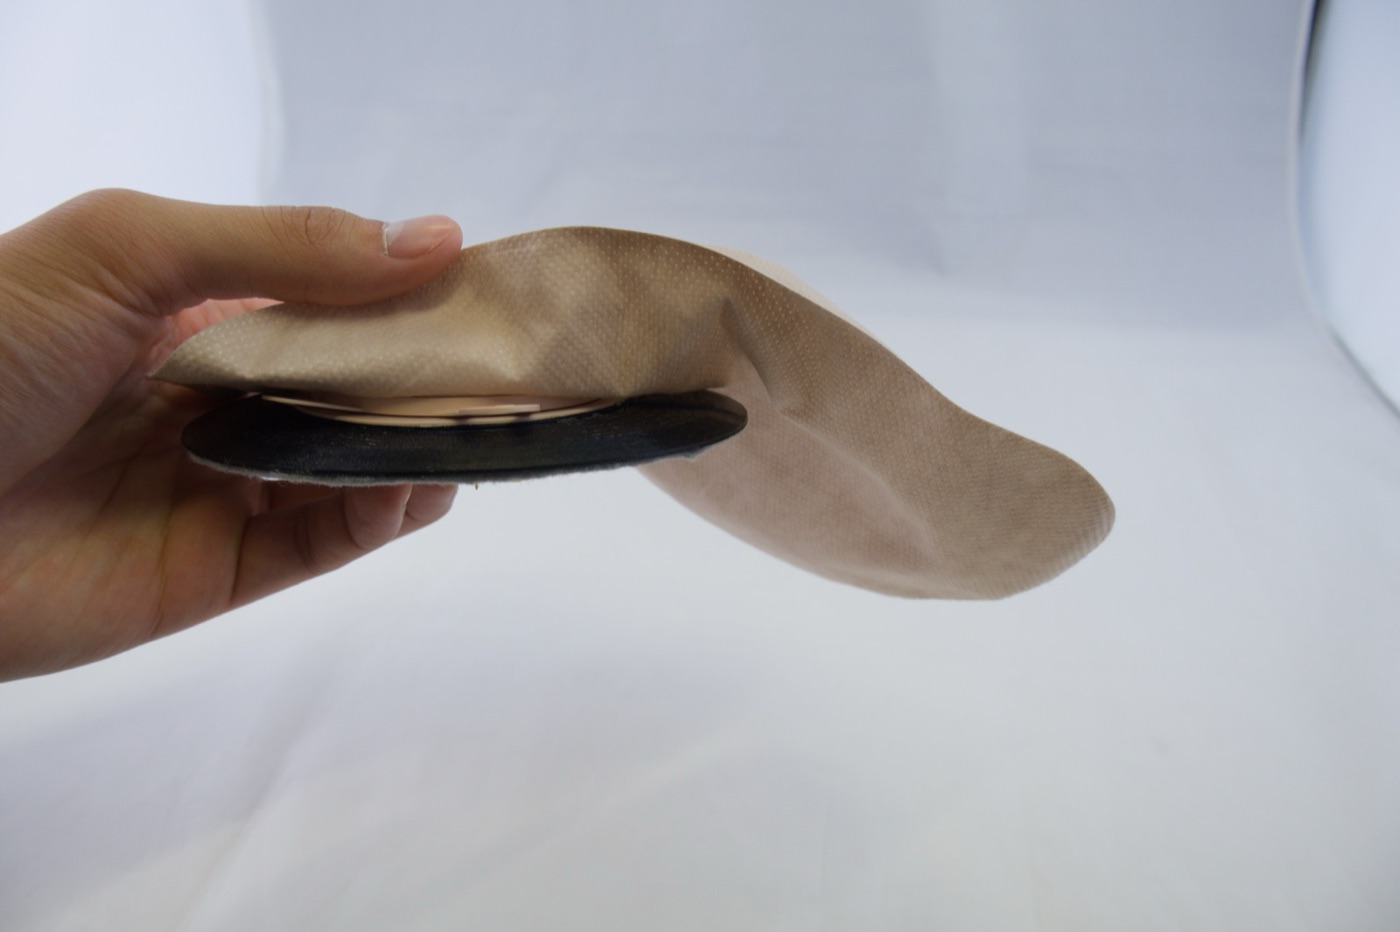
- 3 prototype iterations, ending in a 3D-printed TPU barrier with a working snap-on pouch.
- CAD model of the final barrier. 3D model
- 2.5-minute showcase video. Watch
1. The beginning
Okay hello hello hello, welcome to my dp1 learning portfolio! :D
The following is functionally a summary of the project that is loosely in the form of a blog. Most of the content here is identical to what's covered in the video, but I'll try and dip a bit more in depth into what I did than I do in the video.
In the wise wise words of a man from Cambridge, Massachusetts:
“The only way to learn is by playing, to win is by learning, and to begin is by beginning.” So without further ado, let's begin.
2. The problem
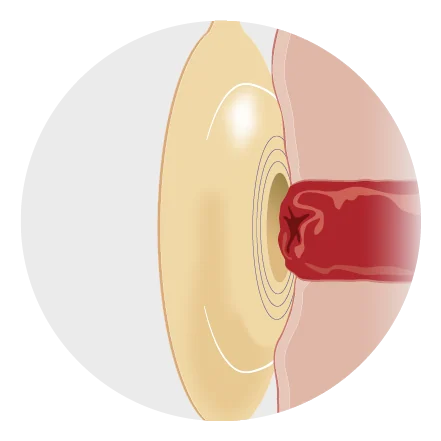
We created the following need statement to encapsulate the issues he and others like him have:
Constraints and objectives
Then we put together some constraints and objectives we have for a solution:
| Constraints | Objectives |
| It must meet medical standards, must not leak, must not put harmful pressure on the peristomal skin and must attach to a waste bag. | It should be customizable to different stoma sizes, should be manufacturable at scale, should be affordable to the end user, should stay adhered even when in contact with other fluids, should function properly for 5–7 days, should not irritate skin that it is adhered to. |
3. Concepts
Now that we had a framework through which we could analyze solutions, the team weighed three main concepts:
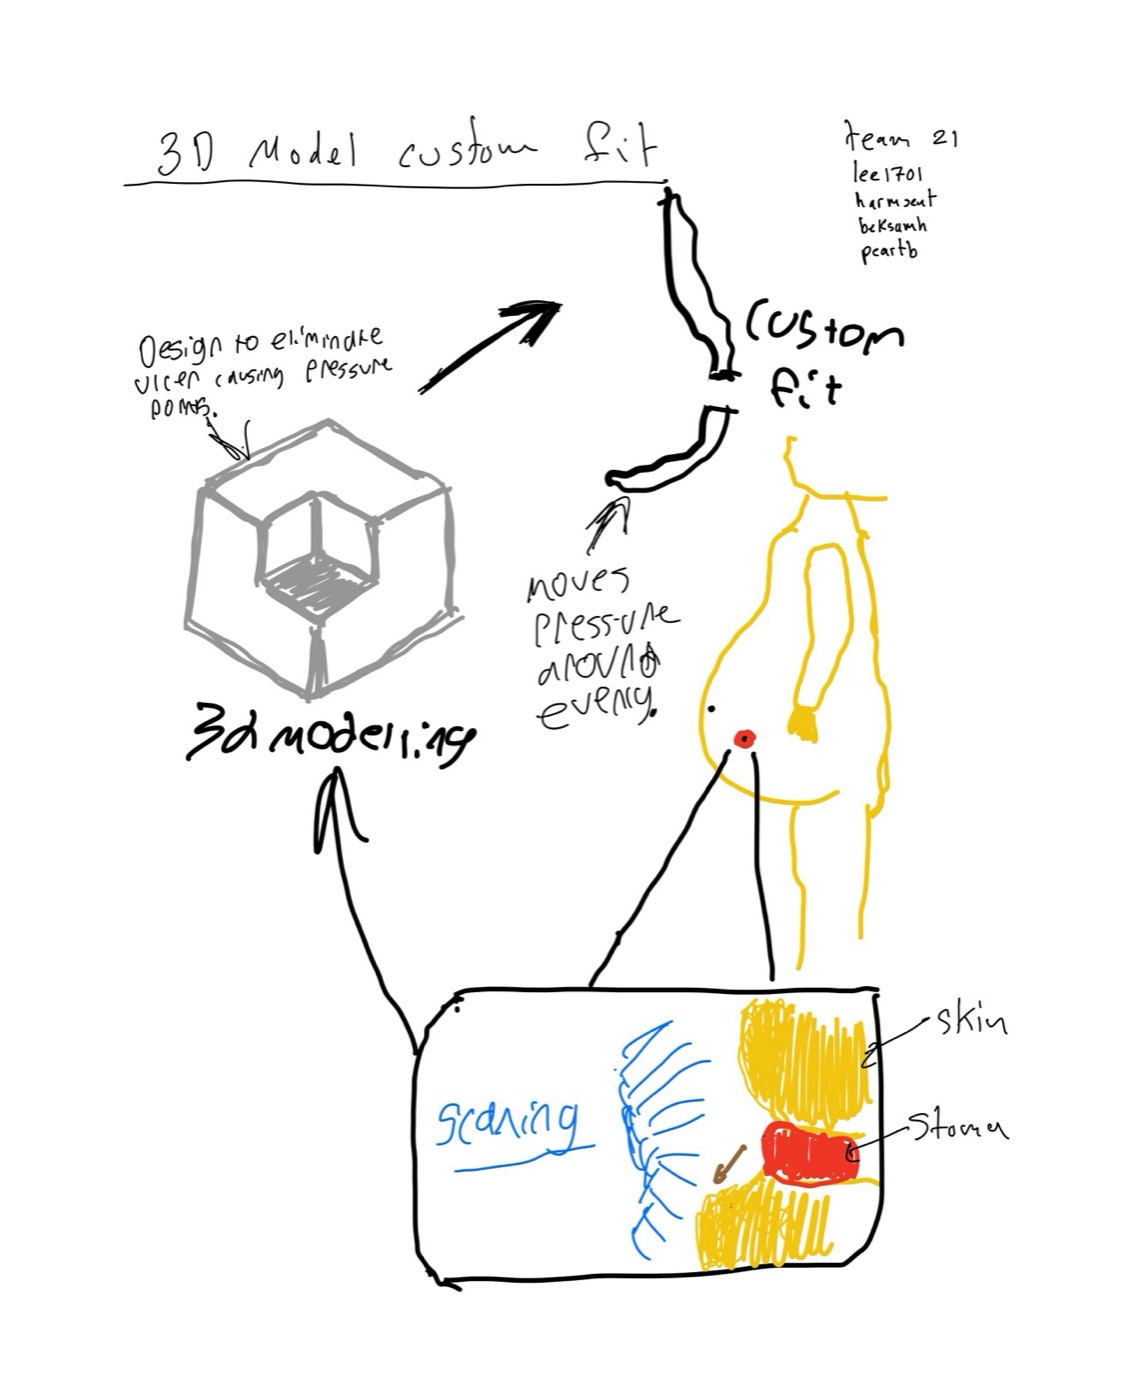
3D-modelled custom barrier
Pro Fits perfectly, spreads force, no cutting to fit
Con Cost, would need re-scanning if the body changes
Wider ring barrier
Pro Spreads force, cheap change to existing products
Con Takes up more skin, harder to apply alone
Inflatable ring
Pro Adjustable
Con Puncture risk, extra parts, pushes in every direction
4. My contributions: building the prototype
The prototype was my responsibility from basically the start to the end: the modelling (of the body), the CAD (of the part), the 3D printing in TPU, assembly and finishing.
Prototype 1 - Concept 1: Wider barrier
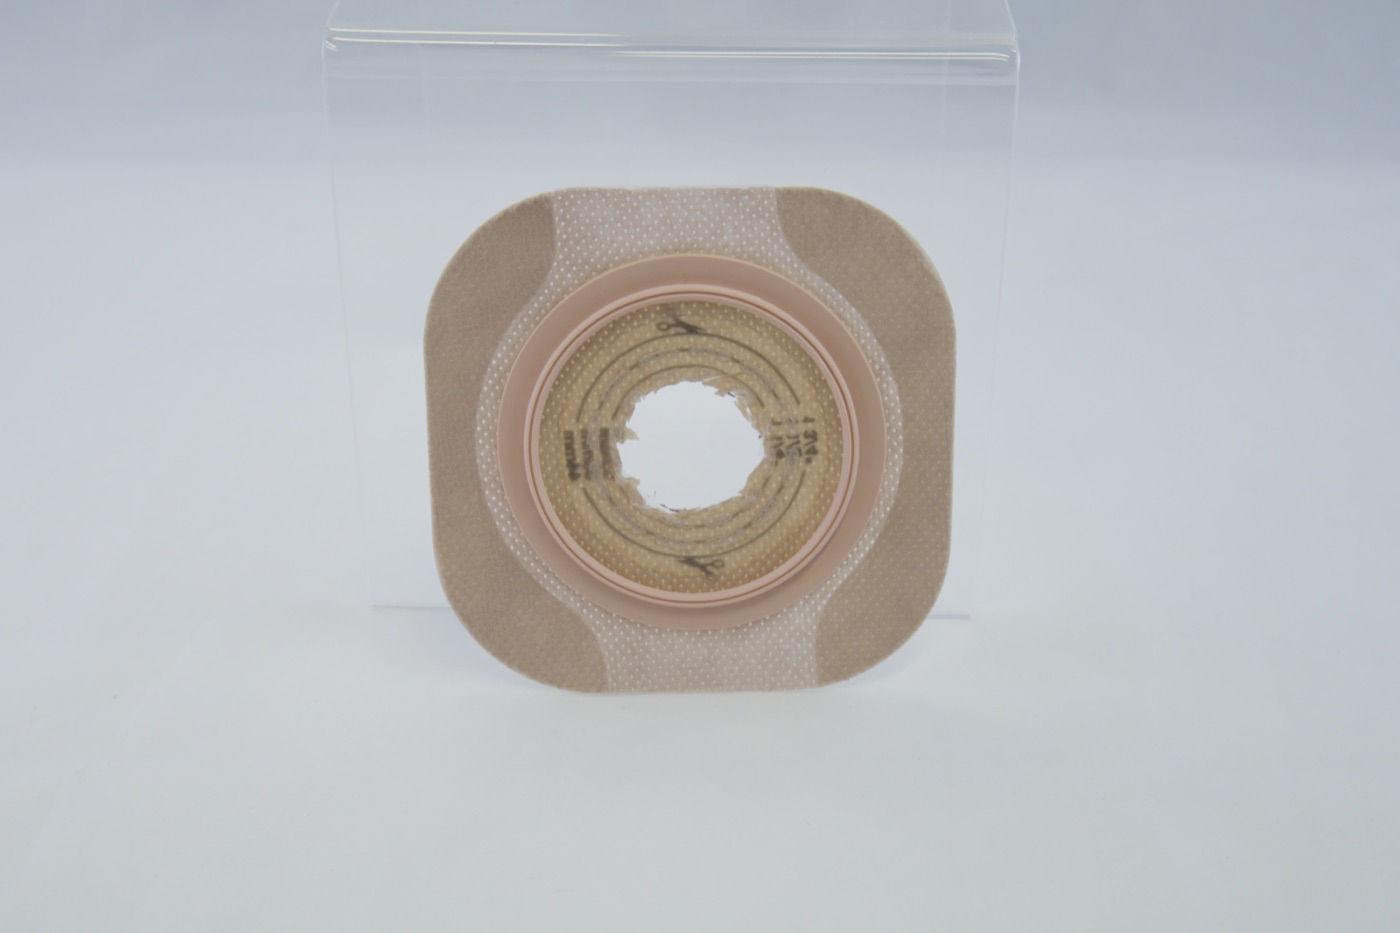
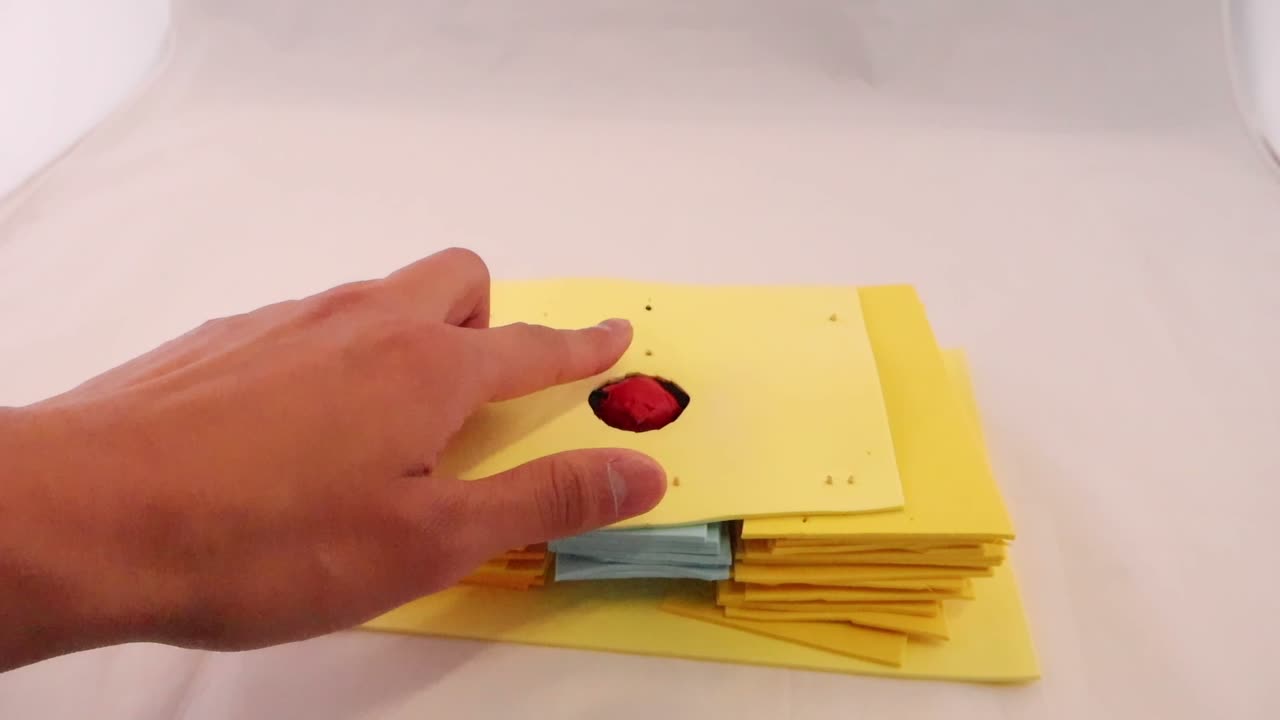
This first prototype was made as a team in the design studio while we were discussing concepts. We made it mostly to illustrate the ideas we were talking about to each other, but it ended up telling us a lot more than we thought it would.
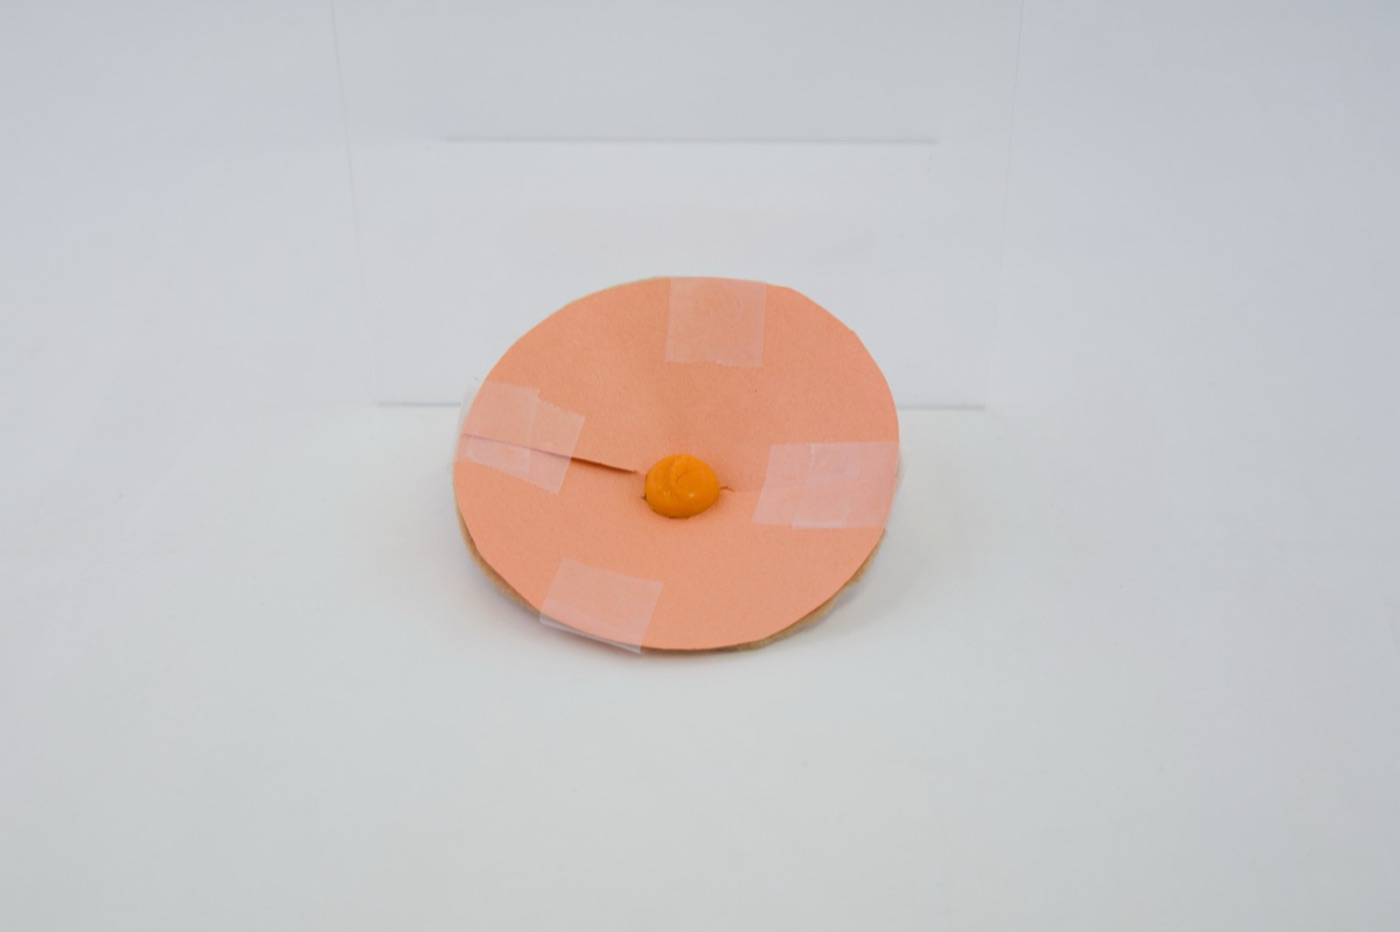
After making and really considering this idea, we realised that expanding the barrier alone wouldn't be enough. If we stuck with just this, the increased size would make it hard for Hurley to move around, and the uniformity would mean we couldn't guarantee that a pressure point wouldn't form along a skin fold.
Prototype 2 - Concept 2: molding the part to the body
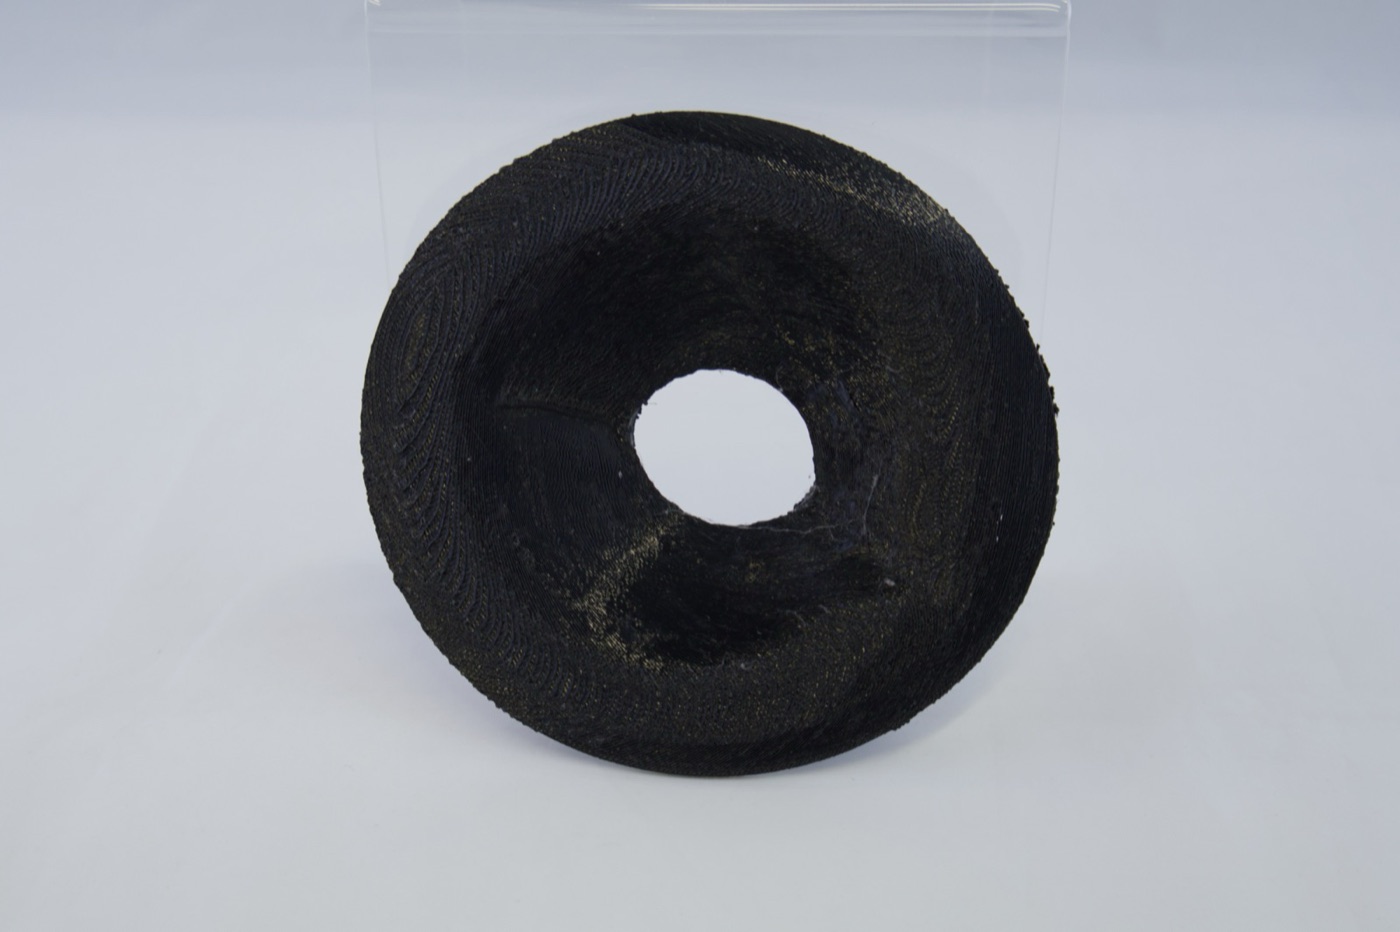
This iteration marked a shift in our design philosophy. Instead of an off-the-shelf convex shape, I sculpted the rough shape of a stoma and the surrounding tissue in Blender. I then used generative design tools in Fusion to build a barrier that is the exact negative of the body (± tolerances). This makes the barrier conform, preventing those aforementioned pressure points. I then 3D printed it in TPU so that we could get an idea of the flexibility.
Prototype 3: final prototype
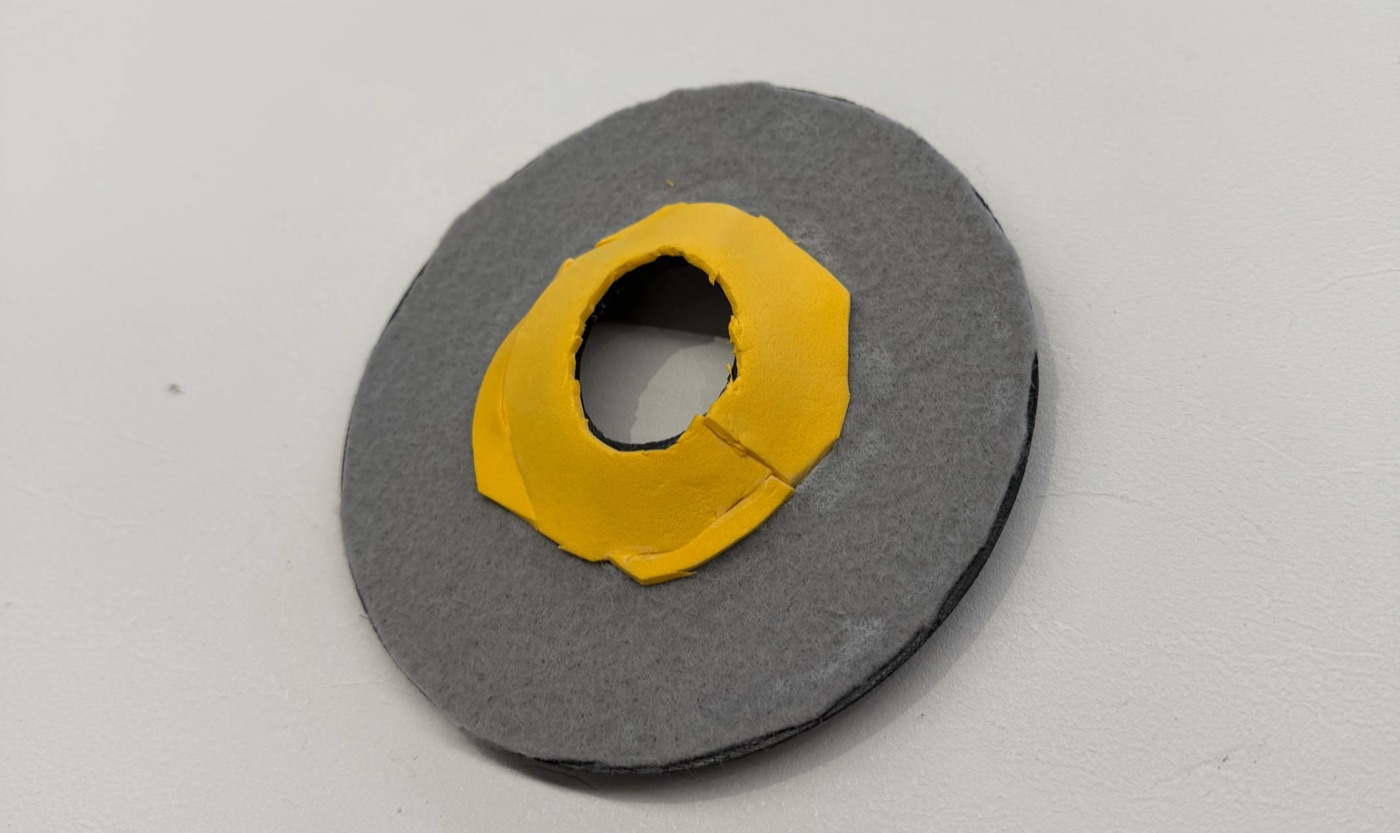
This combined both ideas: a wider barrier (about 1.5× a standard barrier) in softer material that takes the exact shape of the body. It was built the same way as Prototype 2, but on a new base with more accurate measurements. This iteration also changed the materials. We realized that if we wanted to follow the contours of the body, we would need to seriously worry about the breathability and longevity of our materials. My teammates brought forward their final materials based on their research, and I integrated them into our design. In the prototype, the felt layers on the back of the wafer (Fig. 7) show the material stack-up:
- Black: silicone elastomer backbone
- Grey: hydrocolloid adhesive layer
- Orange: ceramide layer to protect the peristomal skin
3D model
Open the interactive 3D model
For fun, here is the CAD model of the final prototype (Fig. 9). It is made of layers (backbone, adhesive and skin layers, and flange), about 12.6 cm across. You can rotate it, spin it, zoom in on it, or even separate it out into layers (but don't look too close, I ran out of time to paint the model cleanly :p).
5. My contributions continued: the showcase video
Another big component of the project I worked on was the showcase video (Fig. 2)! We had pretty much free rein to demonstrate our prototype and explain what it is.
I filmed, edited, and directed the video myself, taking advantage of the media rooms on campus. I am maybe overly proud of this part, but I had a really good time making it!
6. What I learned
Next time/If we had unlimited resources
- I would love to have used a real scan of a patient rather than a sculpted approximation from data.
- I wish we could have tested the prototype more empirically with pressure sensing technology. We have sources and general evidence supporting our design decisions, but we never really got to compare meaningfully.
- Finally I think that actually manufacturing the barrier in silicone rather than TPU would have been huge. We talk a lot about its material properties, but we never actually got an opportunity to experience them hands-on.
Sources
Show sources
- Third Space Learning, “Pressure formula,” GCSE Maths. Accessed: Nov. 6, 2026. [Online]. Available: https://thirdspacelearning.com/gcse-maths/ratio-and-proportion/pressure-formula/
- L. McNichol, T. Cobb, Y. Depaifve, M. Quigley, K. Smitka, and M. Gray, “Characteristics of convex skin barriers and clinical application: Results of an international consensus panel,” J. Wound Ostomy Continence Nurs., vol. 48, no. 6, pp. 524–532, Nov. 2021, doi: 10.1097/WON.0000000000000831.
- United Ostomy Associations of America, “Types of ostomy pouching systems: One-piece, two-piece & accessories,” UOAA. Accessed: Nov. 6, 2026. [Online]. Available: https://www.ostomy.org/types-pouching-systems/
- Convatec, “Convexity guide,” Guide to Ostomy Products. Accessed: Nov. 6, 2026. [Online]. Available: https://www.convatec.com/ostomy-care/guide-to-ostomy-products/our-technologies/convexity-guide/
- Hollister Inc., “Convex skin barrier options,” Ostomy Learning Center. Accessed: Nov. 6, 2026. [Online]. Available: https://www.hollister.com/en/ostomycare/ostomylearningcenter/usingostomyproducts/convexskinbarrieroptions
- J. Hoeflok, G. Salvadalena, S. Pridham, W. Droste, L. McNichol, and M. Gray, “Use of convexity in ostomy care: Results of an international consensus meeting,” J. Wound Ostomy Continence Nurs., vol. 44, no. 1, pp. 55–62, Jan. 2017, doi: 10.1097/WON.0000000000000291.